

A concrete driveway is one of the most durable and practical choices for any property. When installed properly, it can handle daily vehicle traffic for decades while requiring very little maintenance.
But like most concrete work, the end result depends heavily on the preparation. A well-built driveway isn’t just about pouring concrete — it’s about creating a solid foundation that can cope with weight, weather, drainage, and long-term use.
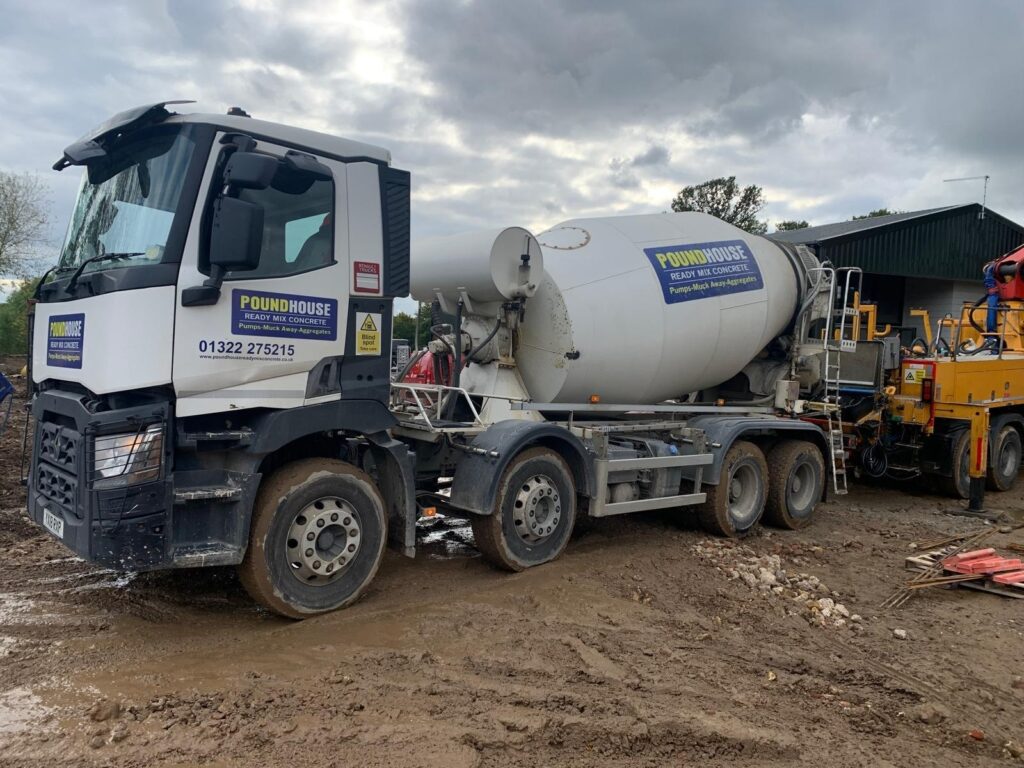
At Pound House Ready Mix Concrete, we supply concrete for driveway projects across Kent, working with both homeowners and contractors. In this guide, we’ll walk through the basic process of building a concrete driveway properly.
Why Choose a Concrete Driveway?
Concrete driveways remain a popular option because they offer:
- Long lifespan
- High strength and durability
- Low maintenance
- Clean appearance
- Good load-bearing capacity
- Better resistance to weather and wear
Compared to gravel or some paving options, concrete provides a much more solid and permanent surface.
Planning Your Driveway
Before any work begins, planning is important.
Consider:
- Driveway size and layout
- Drainage
- Ground conditions
- Vehicle weight
- Access points
- Local regulations if applicable
It’s also worth deciding whether you want:
- Plain concrete
- Brushed finish
- Patterned or decorative concrete
Tools and Materials Needed
Materials:
- Ready mix concrete
- Hardcore or MOT Type 1
- Timber for formwork
- Damp proof membrane (if required)
- Reinforcement mesh or rebar
Tools:
- Shovel
- Wheelbarrow
- Spirit level
- Rake
- Float
- Straight edge
- Plate compactor
Step-by-Step Guide to Building a Concrete Driveway
Step 1: Mark Out the Area
Use string lines and stakes to outline the driveway.
Check:
- Width and length
- Levels
- Slope for drainage
Proper drainage is extremely important. Water should flow away from the property, not towards it.
Step 2: Excavate the Ground
Remove grass, soil, and loose material.
Typical excavation depth:
- Around 200–250mm
This creates space for:
- Sub-base
- Concrete slab
The depth may vary depending on vehicle loads and soil conditions.
Step 3: Install the Sub-Base
A strong sub-base is essential for preventing movement and cracking.
Common material:
- MOT Type 1 hardcore
Typical thickness:
- 100–150mm
Compact the sub-base thoroughly using a plate compactor.
Poor compaction is one of the main reasons driveways fail over time.
Step 4: Install Formwork
Timber boards are placed around the perimeter to shape the driveway.
Ensure:
- Boards are level
- Corners are secure
- The correct slope is maintained
This stage helps achieve a clean and accurate finish.
Step 5: Add Reinforcement
For additional strength, reinforcement mesh or rebar is often installed.
This helps:
- Reduce cracking
- Improve durability
- Handle vehicle loads more effectively
Reinforcement is especially important for larger driveways or heavier vehicles.
Step 6: Pour the Concrete
Once everything is prepared, the concrete can be poured.
Recommended driveway thickness:
- Around 100–150mm for domestic driveways
Spread the concrete evenly across the area.
At Pound House Ready Mix Concrete, we always recommend using quality ready mix concrete for consistent strength and finish.
Step 7: Level and Finish the Surface
Use a straight edge to level the concrete and remove excess material.
Once levelled:
- Float the surface
- Apply desired finish
Common finishes:
- Brushed finish (improves grip)
- Smooth finish
- Decorative stamped finish
Step 8: Cut Control Joints
Control joints help reduce random cracking as the concrete cures and expands.
These joints are usually added:
- Every few metres
- At stress points
This is a normal and important part of driveway construction.
Step 9: Allow the Concrete to Cure
Curing is one of the most important stages.
Typical curing timeline:
- Foot traffic: 24–48 hours
- Light vehicles: around 7 days
- Full cure: approximately 28 days
Protect the driveway during curing, especially in hot, cold, or wet weather.
Common Mistakes to Avoid
Some of the most common driveway problems come from:
- Poor ground preparation
- Weak sub-base
- Incorrect concrete thickness
- Skipping reinforcement
- Poor drainage planning
- Rushing the curing process
Getting the preparation right makes a huge difference to long-term durability.
Should You Use Ready Mix Concrete for a Driveway?
In most cases, yes.
Benefits of ready mix concrete:
- Consistent quality
- Faster installation
- Reduced waste
- Better strength control
- More reliable finish
For larger driveway pours especially, ready mix concrete is usually the most practical and efficient solution.
Final Thoughts
Building a concrete driveway properly takes more than simply pouring concrete onto the ground. Preparation, reinforcement, drainage, and curing all play a major role in how well the driveway performs over time.
When installed correctly, a concrete driveway can provide decades of reliable use with minimal maintenance.
At Pound House Ready Mix Concrete, we supply high-quality ready mix concrete for driveway projects across Kent, helping domestic and commercial customers achieve durable, long-lasting results.
FAQs – Concrete Driveways
How thick should a concrete driveway be?
Most domestic concrete driveways are typically 100–150mm thick.
How long before I can drive on a new concrete driveway?
Light vehicles are usually safe after around 7 days, although full curing takes 28 days.
Do concrete driveways crack?
Small cracks can occur naturally over time, but proper preparation and control joints help minimise this.
Is reinforcement necessary in a driveway?
Reinforcement mesh or rebar is recommended for improved strength and durability.
How long does a concrete driveway last?
A properly installed concrete driveway can last 30 years or more with good maintenance.
Get in touch
We hope that the images on this page have convinced you to choose Poundhouse Concrete as your local concrete supplier the next time you need one. Call the team today on 01322 275 215 and get yourself a free, no-obligation quote for our services.